Many Brooklyn patients ask the same question before committing to veneers: what actually happens to your natural teeth? Understanding what happens to your real teeth during veneer placement in Brooklyn helps you make a confident, informed decision. The process involves more than simply bonding a shell to your tooth. Dr. Chloe Andrews at Signature Smile General & Cosmetic Dentistry walks every patient through each stage before treatment begins.
Step One: Your Veneer Consultation in Brooklyn
The process starts with a thorough consultation. Dr. Andrews will examine your teeth, gums, and bite to determine whether veneers are right for you. She looks at existing enamel thickness, tooth alignment, and overall oral health.
This appointment is not just about aesthetics. It is about making sure your teeth can safely support the procedure. Patients with active gum disease or significant decay may need preliminary treatment first.
During this visit, you will also discuss your smile goals. Dr. Andrews uses photos, digital imaging, and shade guides to help you visualize the outcome before any work begins. You leave this appointment with a clear picture of your treatment plan.
What Happens to Your Enamel During Veneer Placement
This is the step that concerns most patients — and rightfully so. Veneer placement requires the removal of a thin layer of enamel from the front surface of each tooth. This is typically between 0.3 and 0.5 millimeters. That is roughly the thickness of a contact lens.
Enamel removal is permanent and irreversible. Once this layer is removed, the tooth will always need to be covered by a restoration. This is why the consultation step matters so much — it ensures you are making an informed, long-term commitment.
The preparation step serves an important purpose. Removing enamel creates a slightly rough surface. That texture allows the veneer to bond more securely to the tooth. It also prevents the final restoration from looking or feeling bulky in your mouth.
Dr. Andrews uses precise instruments and a conservative approach. She removes only what is necessary. Many patients report minimal discomfort during this step, especially with local anesthesia applied beforehand.
The Temporary Veneer Phase: Protecting Your Prepared Teeth
After enamel is removed, your teeth are more sensitive and vulnerable. You won’t leave the office unprotected. Dr. Andrews places temporary veneers on the prepared teeth while your permanent ones are being crafted at the dental lab.
Temporary veneers are not as strong or polished as the final versions. They are designed to protect your teeth and give you a preview of the new look. Most patients wear temporaries for one to two weeks.
Here is what to keep in mind during this phase:
- Avoid sticky or hard foods that could dislodge the temporaries
- Be gentle when flossing around the temporary restorations
- Contact the office immediately if a temporary comes loose
- Note any discomfort or bite issues so adjustments can be made before final bonding
This stage is also your chance to give feedback. If you want the final veneers slightly longer or a different shade, this is the ideal time to communicate that. Adjustments are far easier before the permanent veneers are finished.
Shade Selection: Choosing the Right Color for Your Veneers
Shade selection happens early in the process — often at the consultation stage. It is one of the most important decisions you will make. The goal is a result that looks natural and complements your skin tone, eye color, and facial features.
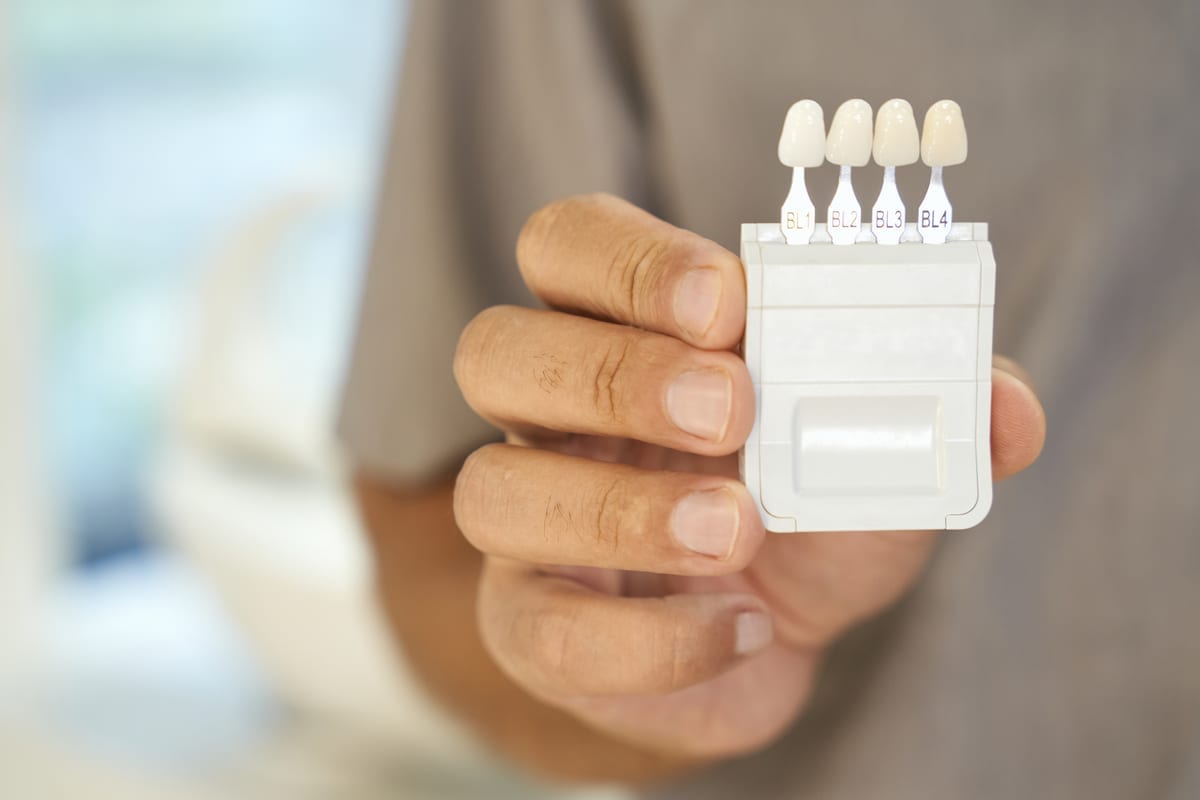
Dr. Andrews uses a professional shade guide to help you choose. She also considers the shade of your surrounding natural teeth. A veneer that is too white against natural teeth can look unnatural.
Patients have real options here. You can choose a subtle enhancement or a noticeably brighter result. There is no single right answer. Dr. Andrews helps you understand the visual difference between shades so you choose with confidence.
The shade you select is communicated directly to the dental lab technician. That technician custom-crafts each veneer to match your specifications. This level of customization is one reason veneers produce such lifelike results.
Final Bonding: Placing Your Permanent Veneers
When your permanent veneers arrive from the lab, you return for the bonding appointment. Dr. Andrews first removes the temporary veneers and cleans your prepared teeth thoroughly.
She then places each veneer on your tooth using a trial fit before bonding. This allows her to check the shape, color, and fit before anything is permanently set. Minor adjustments can still be made at this stage.
Once everything looks and feels right, a special dental adhesive is applied. A curing light hardens the bond in seconds. Dr. Andrews then polishes each veneer and checks your bite carefully.
Here is a quick summary of what the full veneer process looks like:
- Initial consultation and smile assessment
- Enamel preparation and removal
- Impressions or digital scans sent to the lab
- Temporary veneers placed to protect teeth
- Lab fabricates custom permanent veneers
- Final bonding and bite adjustment
Most patients leave the bonding appointment with an immediately transformed smile. Some sensitivity is normal for a few days afterward. That typically resolves quickly as your teeth adjust.
Caring for Your Veneers After Placement
Veneers do not require special tools to maintain. Brushing twice daily and flossing once daily keeps them in great condition. Use a non-abrasive toothpaste to avoid dulling the surface over time.
Avoid biting your nails, chewing ice, or using your teeth to open packaging. These habits can chip or crack veneers just as they can damage natural teeth. A nightguard may be recommended if you grind your teeth while sleeping.
With proper care, porcelain veneers can last 10 to 20 years. Routine checkups at Signature Smile allow Dr. Andrews to monitor your veneers and address any concerns early. Consistent professional cleanings also help maintain their bright, polished appearance.
Frequently Asked Questions
Does veneer placement hurt?
Most patients experience very little discomfort during the procedure. Local anesthesia is applied before enamel removal to keep you comfortable. Some sensitivity is normal after the appointment but usually fades within a few days.
Can veneers be removed after placement?
No. Because enamel is removed during preparation, veneers are a permanent commitment. The prepared tooth will always need to be covered by a restoration. This is why a thorough consultation with Dr. Andrews is so important before you begin.
How many teeth can receive veneers at once?
That depends on your smile goals. Some patients veneer only one or two teeth to correct a chip or discoloration. Others choose to veneer the full set of visible upper teeth for a complete smile transformation. Dr. Andrews will help you determine what makes sense for your situation.
Will my veneers look like natural teeth?
Yes. Porcelain veneers are custom-made to match the shape, translucency, and shade of natural tooth enamel. When crafted and placed correctly, they are virtually indistinguishable from real teeth. Shade selection and proper fit are key to achieving a lifelike result.
What happens if a veneer chips or falls off?
Contact your dentist right away if a veneer is damaged or becomes loose. Do not leave a prepared tooth unprotected for long. Dr. Andrews can assess whether the veneer can be rebonded or if a replacement is needed.
If you are considering veneers and want to understand exactly what the process involves for your specific teeth, Dr. Chloe Andrews is here to guide you every step of the way. Book Now to schedule your appointment with our team.